Note: If you are upgrading from version 1.x, read the important instructions in Upgrading from Version 1.x first.
The Dialogue System for Unity requires Unity 2018.4+. To get started, open the Package Manager window and import the Dialogue System for Unity. It will add these folders into your project:
2D Support: If your project uses 2D physics, see Enable Physics2D Support.
After installing the Dialogue System, you may want to play the demo scene, read an overview, or do the quick start tutorial:
If you are not upgrading from version 1.x, skip this section and proceed to the Demo Scene.
(Click Here For Video Version)
If you are upgrading from version 1.x, you must follow these steps:

Note: You will not be able to run the updater if the project has any compiler errors. After you resolve the compiler errors, the menu item should become available.
If you have any questions about the update process, please contact us.
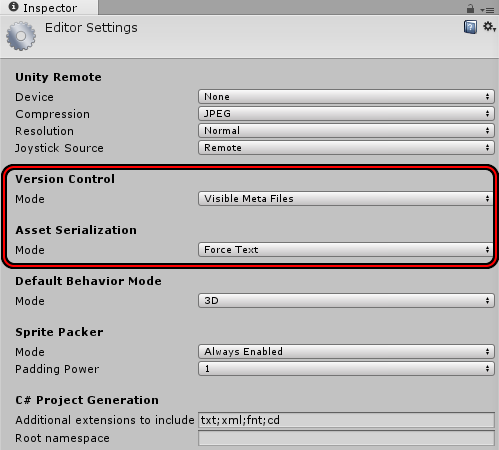
The Dialogue System’s internal script references (GUIDs) changed from 1.x to 2.x. The updater tool locates assets with obsolete 1.x GUIDs and redirects them to the new 2.x GUIDs. Unity can store assets, such as scene files and dialogue databases, in binary or text format. This process is called serialization. The updater must temporarily convert assets to text serialization to update Dialogue System GUIDs. If your project contains assets that were binary serialized in Unity 4, Unity can't convert them to text serialization. This isn't specific to the Dialogue System; it's a Unity 32-bit vs 64-bit restriction. In this case, you must open them in Unity 4, change to text serialization, export the assets, and import them into your project before running the updater.
Version 2.x introduces these changes:
If you prefer to learn by doing, you may want to jump to the Tutorials.
<< Welcome to the Dialogue System for Unity! | Demo Scene >>