 |
|
This page contains general quick start instructions that you can follow to set up the Dialogue System in your own project.
(Click Here for Setup Wizard Video Tutorial)
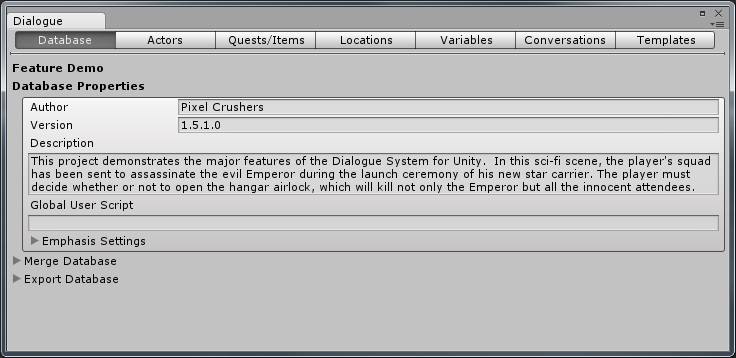
More information: Dialogue Editor

The absolute fastest way to add a Dialogue Manager to your scene is to add the prefab Assets/Dialogue System/Prefabs/Dialogue Manager and then select menu item Component > UI > EventSystem. The Dialogue Manager prefab is preconfigured with generic Unity UIs. You can still run it through the Dialogue Manager Wizard to customize it further.
To customize your Dialogue Manager or create a new Dialogue Manager if one doesn't exist in your scene yet, run the Dialogue Manager Wizard:
Select Window > Dialogue System > Wizards > Dialogue Manager and go through the wizard. Configure each page as appropriate for your project. Here are some notes:
Prefabs/Unity Dialogue UIs.More information: How to Set Up the Dialogue Manager
The Player Setup Wizard will automatically add the appropriate Dialogue System components to your PC to give it the behavior that you specify. You can also manually add components using the Component > Dialogue System menu.
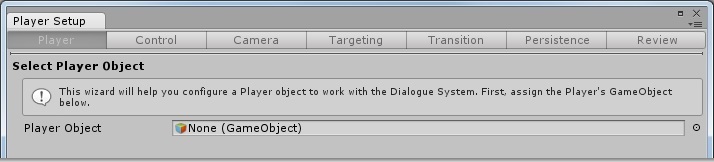
Select Window > Dialogue System > Wizards > Player Setup and go through the wizard. Configure each page as appropriate for your project. Here are some notes:
More information: How to Set Up the Player (PC)
The NPC Setup Wizard will automatically add the appropriate Dialogue System components to your NPC or interactive object to give it the behavior that you specify. You can also manually add components using the Component > Dialogue System menu.
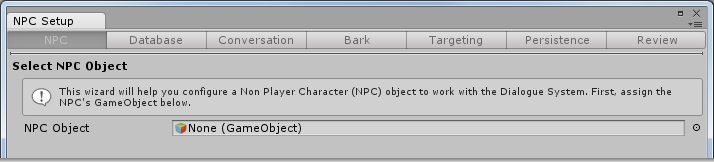
Use these steps for each NPC or interactive object.
Select Window > Dialogue System > Wizards > NPC Setup and go through the wizard. Configure each page as appropriate for your project. Here are some notes:
More information: How to Set Up NPCs
<< Quick Start Tutorial | How To Get Help >>